How to add a digital menu to your restaurant's website
One script in your site's head section, then a button, banner, or pop-up to open it — here's exactly what adding a digital menu to your website involves, step by step.
By Menju
The part that puts most restaurants off going digital isn't the menu itself — it's the assumption that showing it on their website means another call to whoever built the site, another invoice, another two-week wait. It doesn't have to. Adding a digital menu to an existing website is a five-minute job once, and zero-minute jobs after that.
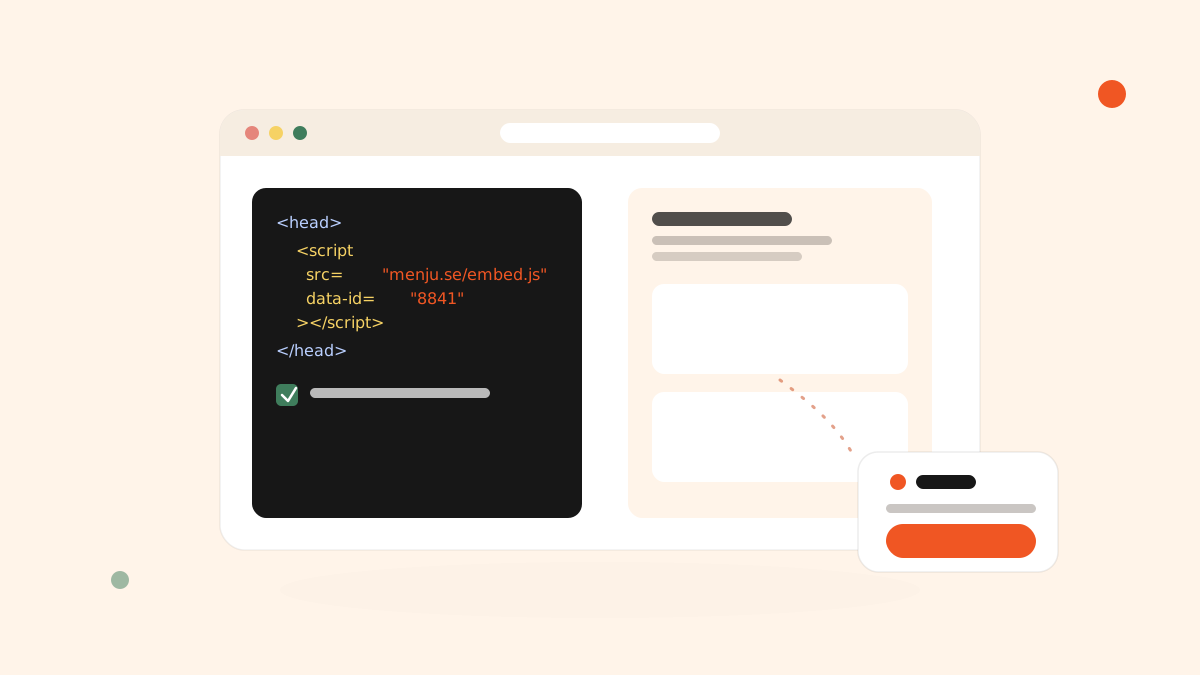
What "adding it to your website" actually means
There are two separate things happening, and it helps to keep them apart:
- A script, added to your site's
<head>once. It doesn't display anything by itself — it just connects your website to your Menju menu. - A trigger — a button, a banner, a pop-up, or an existing element on your page — that opens the menu when a guest interacts with it.
You need both, but you only ever touch the script once. Every trigger you add or adjust afterward, and every menu change you make, happens without going near your website's code again.
Step 1 — Add the script
In Menju, open Implement Menju Script and copy the snippet — it already has your restaurant's ID filled in. Paste it into the <head> of your site. If you're on WordPress, Wix, Squarespace, or another builder, the exact place to paste it differs slightly by platform; the install script guide covers each one, and includes a way to forward the instructions to whoever manages your site if that's not you.
Then click Test Connection on the same screen. Menju checks your domain for the script and tells you straight away whether it found it — if not, it's almost always because the snippet didn't get saved or published on the live site yet.
Step 2 — Choose how guests open it
This is the part that actually shows up for guests, and you're not limited to one option:
- Button — placed in a fixed corner, or dropped into a specific spot on the page. Fully styleable: text, colors, border, size.
- Banner — a strip drawing attention to the menu, shown on all pages or specific ones.
- Dialog window — a pop-up that opens automatically, either immediately or after a delay, using your menu's own design.
- Element — turns something you already have on your site (a link, an image, an existing "Menu" item) into the trigger, without adding any new visual element at all.
You can turn each one on or off independently, and each can be limited to specific URL paths — useful if you only want the lunch button on your homepage, for instance.
Step 3 — Schedule it, if it should only show sometimes
Buttons, banners, and dialogs can each run always, or only within a set time range on specific weekdays — the obvious use case being a lunch menu button that only appears Monday to Friday around midday, rather than a menu link that's technically live but irrelevant outside those hours.
Step 4 — Preview it on your real site
Before you call it done, Preview opens your actual live website with the trigger showing, so you see it exactly as a guest would — not a mockup, not a staging version. If it's limited to certain pages, you'll pick which one to preview first.
What you don't have to do again
Once the script is in and a trigger is live, nothing about this process repeats. A new weekly menu, a price change, a redesigned layout — all of it happens inside Menju and appears on your website automatically. The only reason to open your website's code again is if you want to add a second trigger somewhere else, and even that doesn't touch the original script.
Next steps
Once your menu is live, understanding your analytics shows you whether guests are finding it through the embedded button or a shared link — worth checking a few weeks in. And if the menu itself still needs work before you publish it, menu photos and layout that sell more is a good next stop.